CentOS7上安装Gitlab服务器
Gitlab安装环境是:CentOS 7.4 64位
Gitlab安装版本是:gitlab-ce-12.2.0
1、安装前准备工作
[root@gitlab /]# yum install -y curl policycoreutils-python openssh-server ssh cronie
[root@gitlab /]# systemctl enable sshd
[root@gitlab /]# systemctl start sshd
[root@gitlab /]# firewall-cmd --permanent --add-service=http
[root@gitlab /]# systemctl reload firewalld
[root@gitlab /]# yum install postfix
[root@gitlab /]# systemctl enable postfix
[root@gitlab /]# systemctl start postfix
并安装git最新版本,参考网址:https://www.liuwg.com/archives/git-install
2、下载Gitlab安装包:
下载所需安装RPM包相应版本:gitlab-ce-12.2.0-ce.0.el7.x86_64.rpm
1)、官方下载网址:https://packages.gitlab.com/gitlab/gitlab-ce/,下载速度太慢不建议使用。
2)、国内下载网址(建议使用):https://mirrors.tuna.tsinghua.edu.cn/gitlab-ce/yum/el7/
3、安装Gitlab
[root@gitlab /]# rpm -ivh gitlab-ce-12.2.0-ce.0.el7.x86_64.rpm //安装gitlab命令
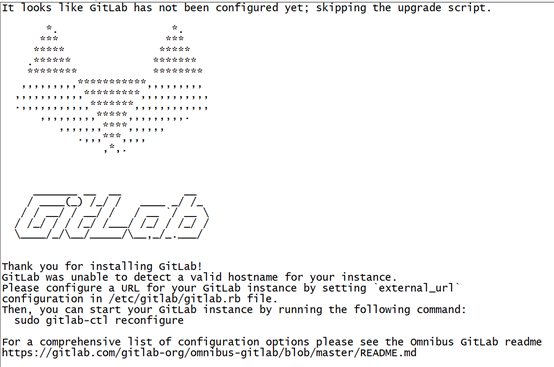
安装完成之后,出现如下信息,即表明gitlab已安装成功!

4、启动Gitlab
[root@gitlab /]# gitlab-ctl reconfigure
执行了上面的启动命令,如果没有exception,就表示安装成功了。
5、登录验证
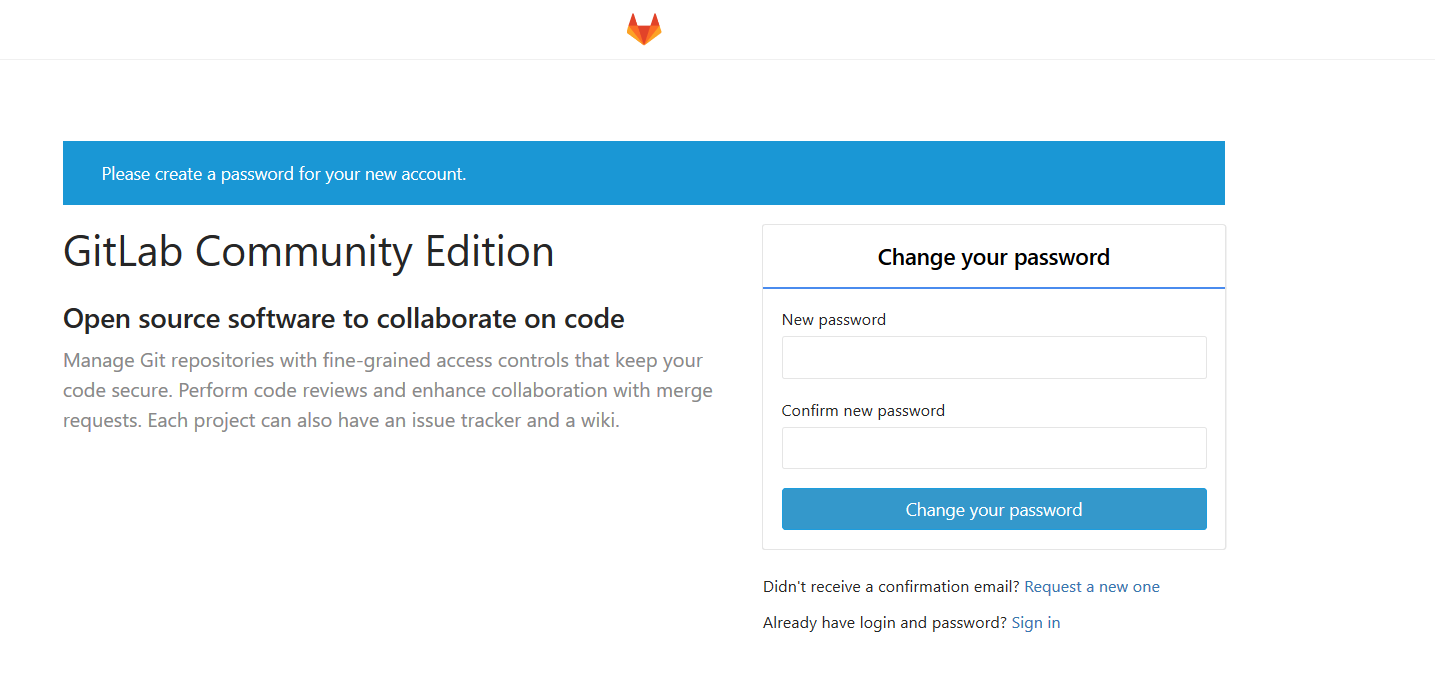
在浏览器中输入:http://172.16.0.40,会弹出如下页面,首次登录需要设置一下root帐户的密码

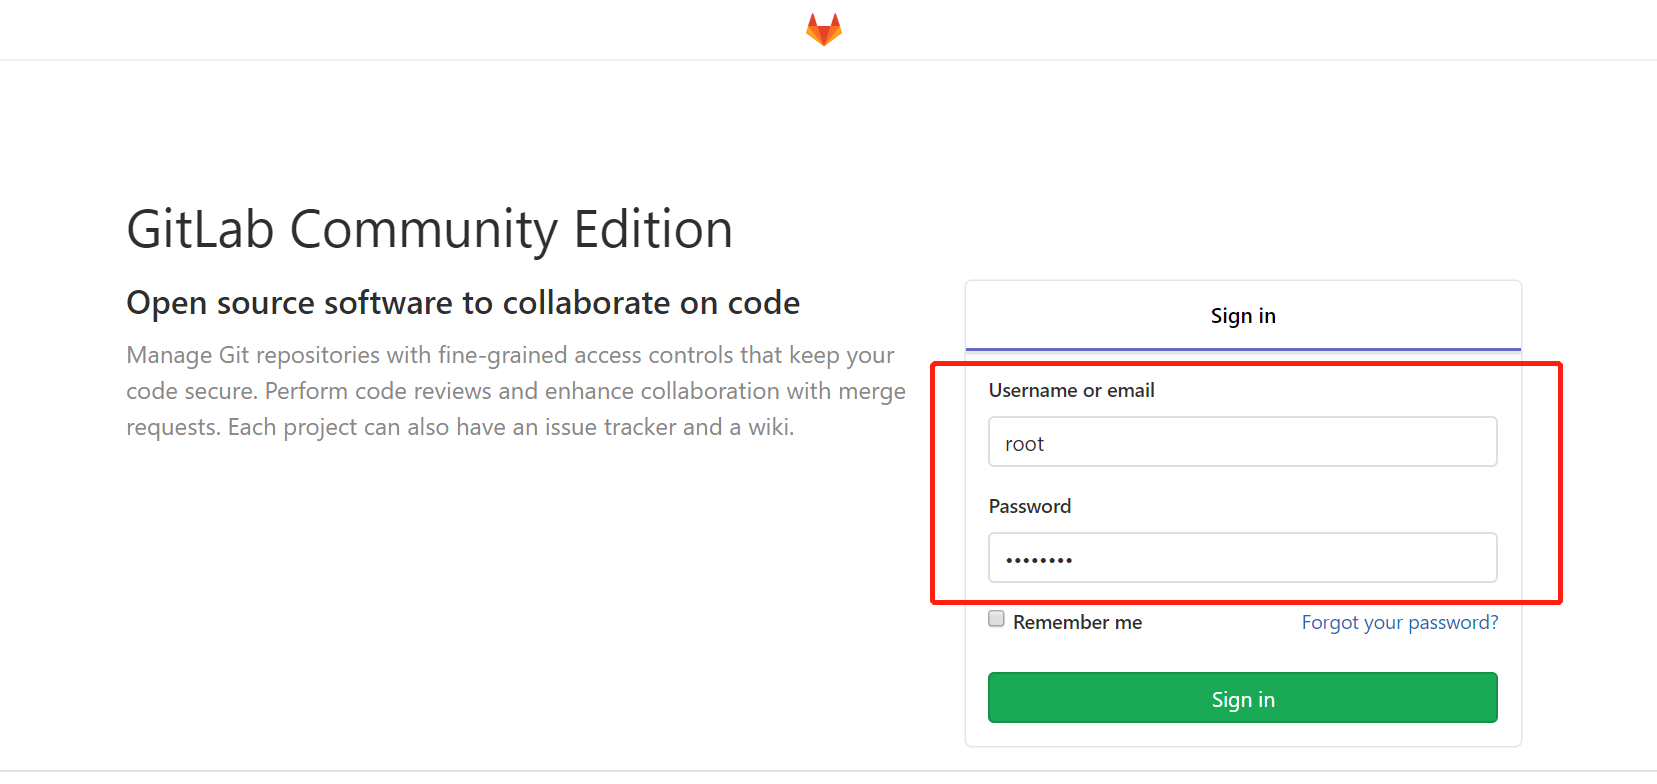
密码设置成功之后会跳出下面的登录页面,登陆的用户名是root,密码就是刚才所设置的密码,就可以成功gitlab服务器了。

本文链接:
/archives/gitlabinstall
版权声明:
本站所有文章除特别声明外,均采用 CC BY-NC-SA 4.0 许可协议。转载请注明来自
阳光•雨!
喜欢就支持一下吧
